Showing posts with label sewing. Show all posts

Friday, August 19, 2011

Negroni: Tissue Fit II

After the Negroni Tissue Fit I, I diligently traced and marked the pattern for alternations (so I don't ruin the original pattern). Then, we had tissue fit II where I made some pattern adjustments. Tell me what you think. Am I on the right track?

Tissue Fit II, no alterations (ignore the silly/scary face):

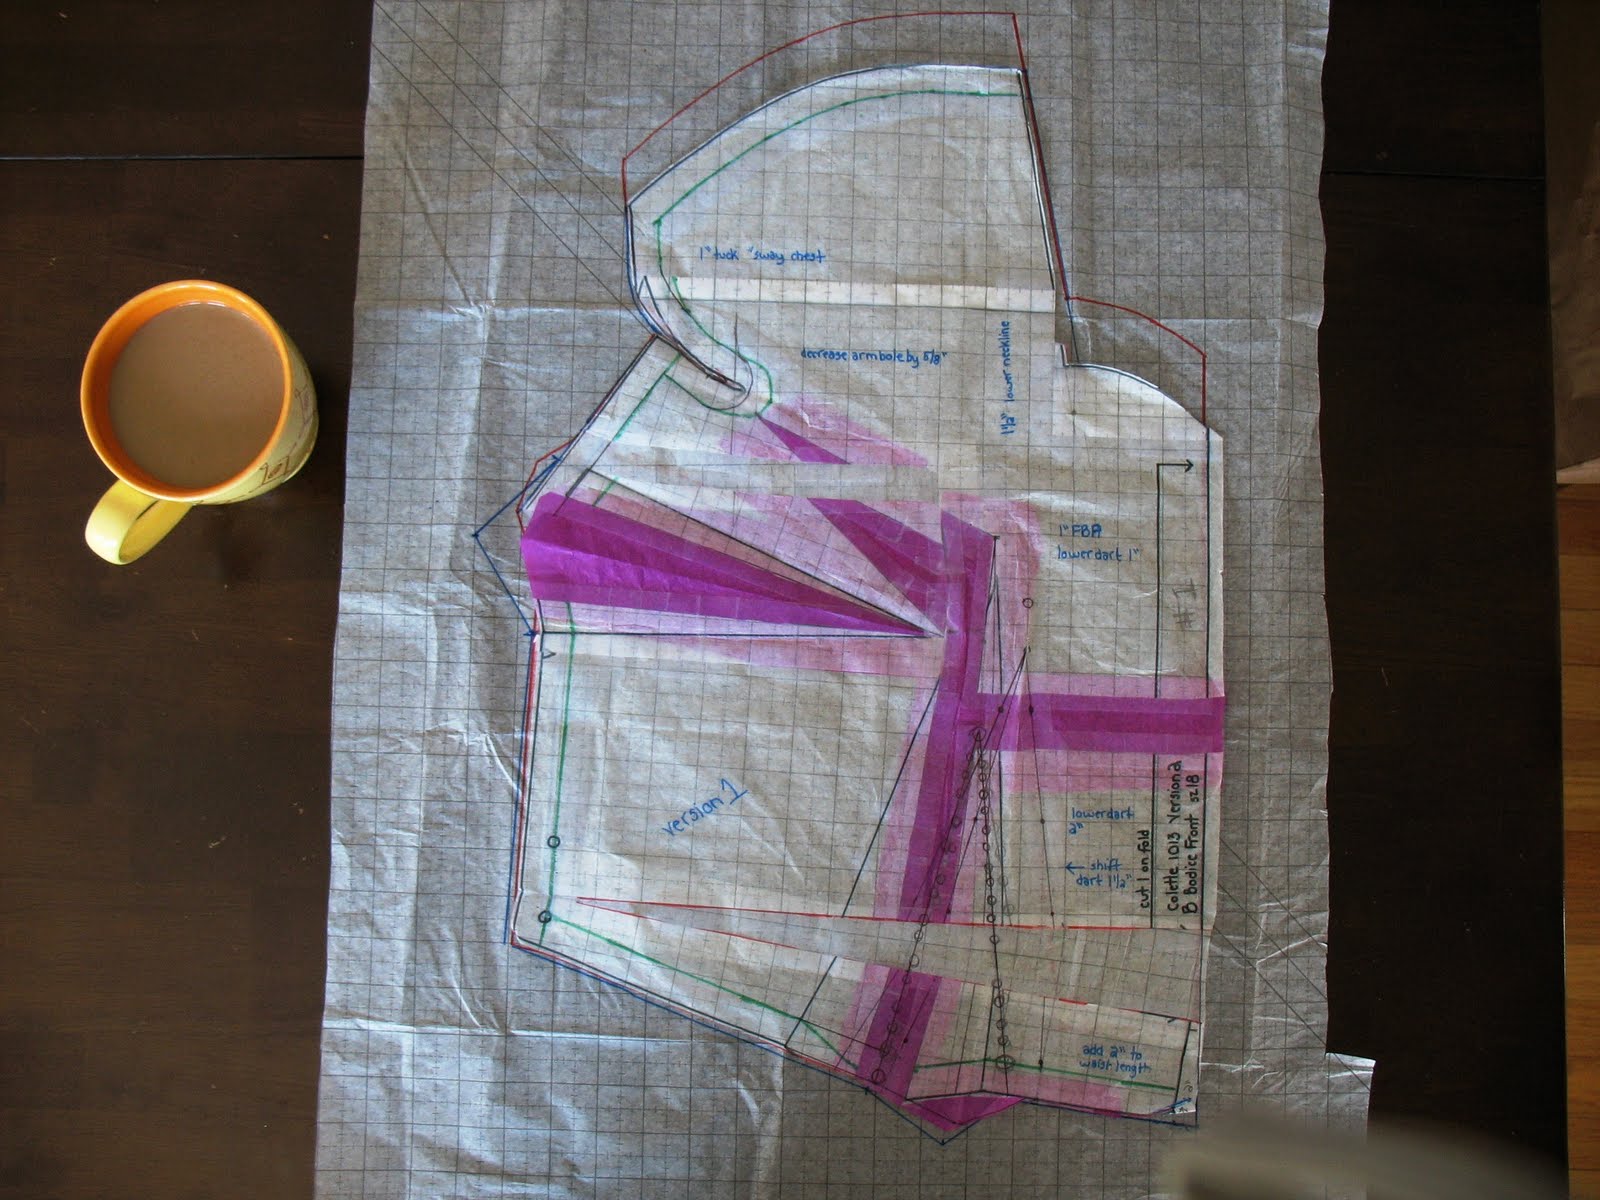
Looking at the fit, I can see the biggest issues to work around are 1) the fit of the yoke and the back shoulders, and 2) the fit of the collar and neck area, with that huge gape. As a key to these photos - the original pattern lines are in blue, and the original stitching line based on size XL is in orange. This is where I pinned for the first tissue fit. The lines I redrew to show a new stitching line are in black (I have not redrawn the seam allowance on here yet). From this, I hope you can get an idea of where I will be removing fabric and adding back fabric.

For the back, I knew I want to address the shoulder fit by matching the shoulder seem to Sam's pivot point at the top of the shoulder. To do this, I think I will need to narrow the shoulder width, which of course means making changes to the yoke, the back, the front AND the sleeve. Yikes, it's intimidating. The good news is that Peter's Negroni Sew-along covered this alternation in detail, so I have a good point of reference.


I used Peter's example of taking fabric away from the shoulder yoke and front of the shirt and transferring the excess into the sleeve cap as my guide for this adjustment. You can see the new line of the shoulder in black in the above. Since Sam is not narrow backed, I am tapering the new stitching line back to the size XL under the arms.

The neckline issue is a bit more ambiguous. See that orange line? The collar is very, very high at the center front neck. On Sam's ready to wear, I notice this causes a crease or a buckle of fabric around the unbutton neck as this excess caves in on itself. I can take a wedge of excess out of the chest, as I have shown, but that leaves me with a weird line to true around the front button placket. Since the pattern is gingham and will have an obvious grid, I don't want to throw anything off grain. I could just redraw the neckline, but my instinct tells me there is something more with this alteration - that either the shoulder slope or the armhole fit is the culprit. Any suggestions?

Link
My instinct wast to pin a wedge out of the neckline to bring it down. But this might not be the right move. I forgot to see what this does to the hemline, but I can tell from the photos that the alterations swings the center front across his body at an angle. I want to be really careful about what I do to the grain line of the fabric because I want the gingham grid to line up neatly up and down and side to side.

As I look at this wedge and what it does to the pattern, I think it actually pulls the slope of the shoulder down near the neckline, decreasing the slope. So perhaps rather than a a wedge, I should do a square shoulder adjustment by adding some fabric near the shoulder, to change the slope of that shoulder. Without the seam catching on Sam's pivot point and holding the rest of the shirt up, the entire bodice front will be able to pull down lower on his chest, bringing the neckline down too. Is that sound logic? I guess there's only one way to find out.

Wednesday, August 17, 2011

Negroni: Looking at another shirt's fit.

Do you know that White Stripe's song "The Hardest Button to Button"? Well, the lyrics suited Sam when we were taking these pictures. That darn top button is the hardest button to button, which is why Sam hardly ever buttons it! Thank goodness he doesn't wear many ties.

Our Negroni tissue fit was a bit confusing, so I put him in one of his button downs to look for fit issues, theorizing that the fabric version might help me identify major issues. The good news is that upon close inspection, his ready to wear is actually kind of ill fitting, but I still think he looks damn good. So even if his Negroni is a wee bit off here and there, it should be of the same fit quality as off the rack.

This is a Banana Republic "fitted"button up, size XL (17-17 1/2). It's a nice quality shirt and what we would consider a good fit for off the rack. Immediate issues I notice:

- Pulling from the top button to his shoulders along the upper chest. What causes this?
- A bit more bunching and excess in the armscye than I would think would be ideal, but certainly not the worst in the world.
- There's a crease in the sleeve that starts near his shoulder and creases dramatically in to the elbow area. Surely this indicates something is off, maybe where the sleeve cap is seated? Beats me.
- The sleeves are a bit short. He usually rolls them up to compensate for this. Good thing I know how to add length to a pattern, easy-peasy!

- Pulling from under his arm and mid-side toward his pecks/mid-chest. This could be because he is fuller in the chest area than the shirt is cut for, or could it be the armhole is not right?
- That crease in the arm rolling from shoulder to elbow front is really prominent. What could be the cause?

- There is some puddling of fabric in his lower back. If this was a woman's top, I would call for a sway back adjustment. Except Sam has the flattest man-butt ever, so it couldn't be a sway back, could it? Maybe I shouldn't worry about this, as men's shirt traditionally don't lie as flat and fitted as women's shirts.
- The tuck in the back shoulders coming from the yoke is creasing in toward the armpit. Is that normal? Is there an alteration for a smoother fit?

- The side seem hangs nice and straight. I think he has enough room around the stomach.

So, any other obvious figure nuances that you see that I can apply to the Negroni pattern? Do you have alteration suggestions? Please advise.

Monday, August 15, 2011

Negroni: Tissue Fit I

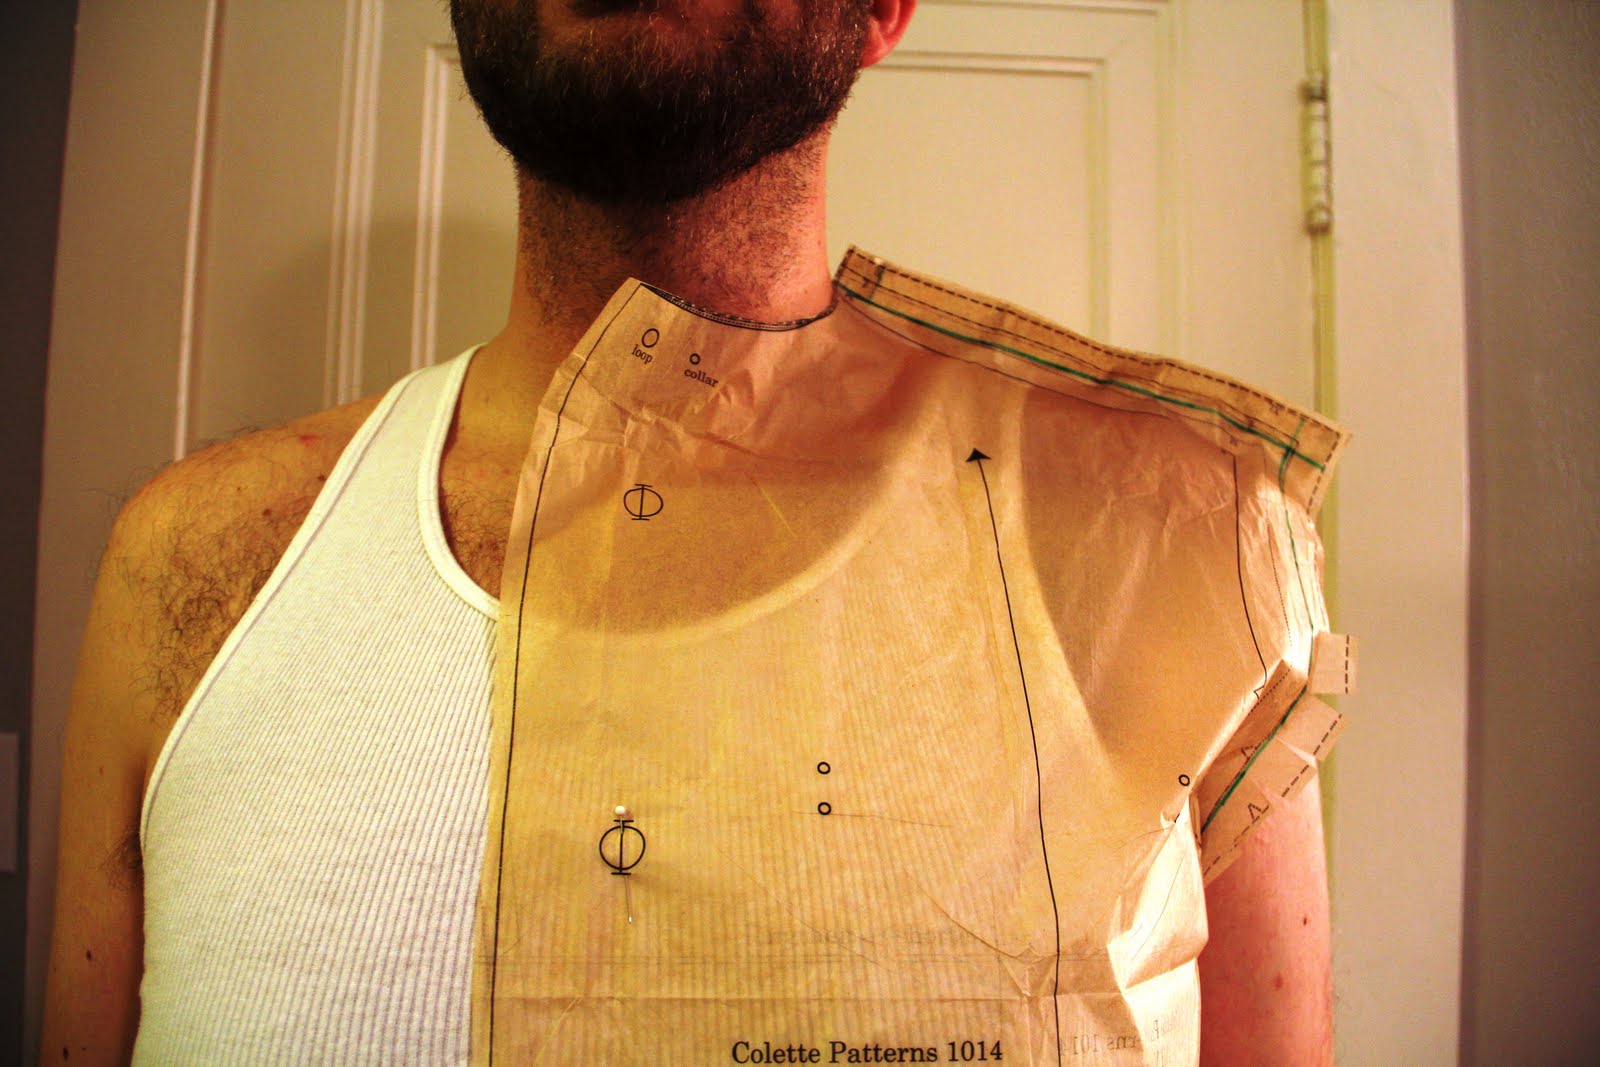
Well, I thought making a men's shirt was going to be easier then sewing for myself. No boobies to dart around, no girlish curves to contend with, and less restrictions on close-fitting to personal shape. However, the tissue fit of Sam's Negroni is not promising a lot of easiness in this task. There is something wrong in the shoulder, armscye, and neck. In positive news, the length looks good, as does the waist width. (Also, I think I have the over-fitting disease, so I might just be too critical. Please tell me if you think I am taking this too far.)

I have Sam in the straight XL size, as he fit the pattern measurements most closely in this size. Sam's got a pretty standard male figure, tall, relatively broad, and without too much slope in his shoulders (he's a cutie, right?!). He also likes a pretty fitted look in his shirts, keeping with the youthful trends of today. So I want to make sure this shirt hugs his figure pretty good.

What do you think? Are they major adjustments to be made in tissue before I proceed with the fabric muslin? Give me your thoughts?

The back:

It looks pretty good in terms of width across the upper back I think. However, the shoulder is sure hanging far off of his natural shoulder. If you zoom into the pictures you can see that the size small line is actually following the natural pivot line of his shoulder. This makes me thing I should pull in this stitching line closer to the medium, so he gets that fitted look he likes. Of course, I need to keep the XL sizing in his mid and lower back, and through the armpit. Looks like I might be reshaping the yoke shoulder seam and tapering back to the pattern lines like Peter did here.

The front:

The front is of more concern to me than the back. The neckline seems really, really high. In Sam's ready to wear he frequently gets a buckle, or a significant fold of fabric, around his neckline where the shirt seems to cave in on itself around it neck, with wrinkles that smile up from high chest to mid-shoulder (very much along the line of his wife beater neckline there). Could this be similar to the gaping that appears in a lapel line after a full bust adjustment (see Patty's excellent description of this fit issue and alteration here)? If yes, it's just a matter of pinching out a wedge of excess around that second button and truing the center line back up. Or maybe there's another option...?

The side seem looks good.


Sunday, August 14, 2011

Negroni: Where I make promises that are hard to keep.

Sam's 30th birthday was in April, and I wanted to give him a special gift. So I thought, what better than to MAKE him something special... A shirt perhaps? And I knew just the pattern, Colette's Negroni. It's a great men's shirt pattern, described as modern with a retro vibe, and since it's a Colette pattern it has wonderful instructions and thoughtful design. Plus, the pattern has been all the rage in the sewing blog-o-sphere these days, so there are sew along and pattern reviews galore to help me through the project.

I bought the pattern and picked out some really nice fabric from Sew Mama Sew - it's Carolina 1" Gingham by Robert Kaufman in blue. It will be just right for Sam, since he's got blue eyes and enjoys the hipster vibe so vogue these days. (The only other piece of clothing I made Sam in my early days of sewing was decidedly NOT his style, plus I got teh print upside down).


We will make some tiny design changes to keep things in Sam's style. He wants a stand collar rather than a camp collar as the pattern in drafted, and I should be able to accommodate that. We are also playing with the idea of a contrast fabric for the facings. Even with little changes, I am feeling pretty in-tune with fashions of the time though, because not but a few weeks after I promised to make the shirt and gave Sam the fabric and pattern, he came across this shirt in the window of Brooks Brothers. Is that a 1" blue gingham with double pockets and a retro vibe? Damn straight it is! I just hope I don't regret offering to make the shirt when I could have bought an exact identical.

So, I am months behind making this a timely birthday gift, but I am starting now and have high hopes for the final results. Something homemade with love will always be more sentimental than store bought, and if I can manage to keep everything relatively un-wonky, it might just be a useful addition to his closet too.

Sunday, April 10, 2011

Jailbird. A fashion do or a fashion don't?

Let's just start this post with a multiple choice question.

When Kate wears this black and white striped skirt, she looks:
a) boldly fashionable
b) graphically challenged
c) like she just broke out of jail
d) all of the above
e) none of the above. Other: _______________

I finished sewing this puppy yesterday. But now I can't decide if I can really pull it off. I was inspired by the lovely Lilli of Frocks and Frou Frou, who wore a black and white striped skirt recently with a black and white patterned top (you can see it here). I though she looked so chic, so bold, so confident, and so I immediately began coveting a similar skirt of my own.

I scoured the Internet high and low for the perfect striped fabric. I found very little in the way of appropriate striped fabric. Stripes were either too narrow, or staggered in different sizes, or just plain not available. But while there was no fabric available, along the way I managed to find lots and lots of images of striped clothing to peak my lust, including a Kate Spade yellow striped skirt that enhanced my obsession with striped skirt. I even found a blogger obsessed with Kate Spade who made her own version of striped skirts in red, blue, green, and black. But still, not fabric found. Then, magic of all magics, I found Michael Miller's Two by Two in both black and white and yellow and white.

I made this skirt using a combo of Gertie's dirndl skirt tutorials (#1 and #2), with my own addition of a wide elastic waist instead of a band with zipper. It just is so easy and comfortable with the elastic I added a pocket, which proved challenging as I had to rip it out and redo it twice (if you know how to do french seems with pockets, please share!). I also added a lining of full muslin, which may prove too heavy and bulky, but I was trying to prevent sheerness and add poof. It was a simple project made complicated by user error, but I am optimistic I can crank out more of these quickly, presuming it is a good addition to my wardrobe.

So, that is why I need your opinions. I tried the skirt on with several options for top, and now need to know the truth - does the striped skirt work for me? Let me know what you think. Or, to put the questions in a multiple choice:

If we were going to lunch, and I showed up in any of the outfits below, would you be:
a) openly envious of my outfit
b) a little bit self conscious that my skirt was making others dizzy from the stripe-i-ness
d) worried that I had an inappropriate view of my figure
d) all of the above
e) none of the above. Other: _______________

Sunday, April 3, 2011

Easy peazy, nice and breezy skirt refashion.

Nothing like a quick refashion to get the sewing urge recharged. Last year, when Liberty of London and Target collaborated, I was lucky enough to pick up a little dress on sale for $6.49 in the sale racks of my favorite Target. The dress itself was not right for me - it had a jersey halter top with a built in bra that would not come CLOSE to cover my ample self. But, the lower half of the dress was a gathered tube of about 60 inches of pretty, lightweight cotton in a gorgeous Liberty print, including a lightweight cotton lining. I thought "what the heck." It's cheaper than buying a yard of Liberty fabric (or even quilting cotton for the most part).

Well, a year later, I finally got around to converting the steal to a summer skirt, easy peasy. I just chopped off the jersey halter top, regathered the tube of fabric to my waist measurements plus a few inches for pulling on and off, attached it to the lining, and put the whole thing on a circle of extra wide elastic. Viola! A new summer skirt. Since the lining and the fashion fabric were already hemmed and seems serged, it was nothing to do the rest.

The elastic keeps it comfortable. The biggest debate was whether to use black or white elastic. The Liberty pattern has black accents in the flower pattern, and rather than being solid white, the flowers are really more of an off-white. But in the end, I speculated a white waistband would attract less attention to my waist than black. And I thought it would let me wear my shirt tucked in with a slightly higher waist than I usually do.

All in all, I think the refashion worked out wonderfully. So wonderfully, I immediately put it on and wore it to the grocery store. Now that's a statement of success!


Sunday, March 6, 2011

Progress resumes.

After weeks off, I am back on the Crepe dress and making progress. This weekend I made the final pattern adjustments and cut out the fabric for my semi-final dress.

I am embarrassed to admit that I have more patterns tucked into my sewing closet that have gone through a few rounds of fitting adjustments only to be tossed aside than I care to fess up to. Scroll through the "sewing" label of this blog and you will find dress after bodice after blouse started but, um, never finish...? It's a sorry way to behave and still call myself a sewing enthusiast. But so many rounds of pattern adjustments get so tedious. But today, to fight the trend, I picked up the Crepe dress and resumed progress. After all, this dress is showing great promise.

I have now finished four muslins, and at this point I am both a bit tired of AND a bit addicted to futzing around with them. Every time I think I am almost there, I get to staring in a mirror, noticing flaws, pinching here and there, and in general just futzing around in an attempt to fix the fit to perfection. In fact, I almost went for a fifth muslin, until I decided I should just make the darn dress and wear it a bit to see if I like the general fit first. There are still some wrinkles here and there, some slight puckering and pooling above the bust near the armpit and such, but it's pretty darn good. Perhaps I am critiquing more my shape and body texture rather than the fit of the dress in the name of pattern fitting (Oh that I could only shrinking my tummy or perk up my bust as easily as a pattern adjustment. Just some slashing and spreading here, some trimming off seam allowance there, and viola I look like an hourglass-shaped model!).

As far as what it took to get to the final bodice, I have made so many pattern adjustments at this point I am not entirely sure I can document them all. I may create a summary post and try to consolidate all four muslin adjustments into one neat list, so I can reference for future adjustments. In hindsight, perhaps I should have used the size 16 or even the 14 bodice, grading to the 18 at the waist and doing a much larger full bust adjustment. Then the shoulders and back may have fit better, and I could have adjusted the bust alone. But this seemed to work in the end.

I am nervous to cut into my $125 worth of fancy fabric, so I am sewing the whole darn dress up in an old sheet first. If it works, I will be able to dress like a daffodil for spring. If not, I have reserved the beautiful fabric for something that will.

How many of you have to kneel uncomfortably on the floor and use jam jars and cans of refried beans as pattern weights? Oh, the things we do for sewing.

Saturday, February 12, 2011

Crepe Sewalong: Muslin IV and IV.5

Progress = Thumbs up! I am so close to finalizing this Crepe bodice that I can almost, just almost, see the finished project in my mind. This yellow gingham version is my fourth muslin. It features the shortened side and waist darts, deeper and reshaped armpit seams, and a lowered and widened neckline. As you will see, it still requires some additional tweaks. However, all in all, I am getting close.

Observe below for more photos and analysis. And PLEASE chime in with advice and fit tips. In this home stretch, I don't want to leave anything unaltered that might need to be.

Muslin IV:
This version IV features significantly shortened vertical darts that have been curved to nip in fullness under the bust. But I am not sure they are exactly correct. They are so short that they end before my bust starts, and therefore are no longer fitting the bust area. Rather, they are releasing into a significant "poof" of fuller fabric around the low bust. I made some changes to try and correct this, see Muslin IV.5 below.

Another issue is the bodice hemline, it's all wacky and slanted, due to my over-zealous alterations. I had been attempting to lengthen the front bodice without altering the side seams at all (as I think the back length is correct). So I opened a horizontal dart/wedge from the lower side seam to the center front, adding a gradual 3 inches of length to the center front (you can see the pattern alteration here). However, what I have ended up with is a bodice pattern that is about 3 inches or more longer at the center front than at the side seam. Go figure!? You can really see this on the profile picture below. I still do think I need extra length on the front to pull down over my roundish belly, so I wonder if I could create a long, swooping "U" shape to the curve of the lower bodice, to allow more length. Because I have taken length out the shoulders it makes sense I might need to add it back to the front and back.

The armhole fits much better now that i have lowered everything and adjusted the shoulder seam. The bust dart is still too high, it just keeps getting moved up as I play with the shoulders. I may move it down another inch or so to put it back at the apex, but i don't think its the worst thing in the world here either.

I am getting drag lines from the apex to the side seams, not sure exactly why but I am certain it has to do with having a very full bust. The interesting thing is that the bodice does not feel too tight. I don't feel binding or pulling. I just see it. I am not sure the best way to correct this, and may just leave it as is and call it a consequence of my bust size. But if you have a good idea for correcting, let me know.

The back is looking pretty darn good, except for two main issues:

1) The back darts are too center-back for my aesthetics. They are running parallel to my spinal column, just a few inches outside each side of my spine. If you remember in the earlier muslin stages, I had removed the back darts to accommodate my wide waist. However, I put them back in to gather up some of the extra fabric I found in the back. So these darts were pinched out of the back to pull up the fabric exactly where the fabric wanted to be gathered. Therefore I worry about moving them. Any advice?

2) There remains excess and bunching over the shoulder blade. It's not terrible, but also not great. When I asked my husband if he could help me pinch it out and pin it so that I could try to figure out the necessary alteration, he got sort of finicky and told me the bodices looked really good and to stop being a perfectionist. However, I have already made FOUR muslins, and I am not about to quit when something is not quite right. So what do you think?

Below is my current solution to the back shoulder blade bunching AND the issue with the darts. I appreciate any feedback you can offer.

Muslin IV.5 (basically, Muslin IV with new darts and the back pinched up):

So, this is the muslin with the front waist darts altered back to a standard inverted "V" shaped dart (as opposed to the shorter curved darts of version IV). I tried one lower (my left, your right), and one higher (my right, your left). I like the look of the higher dart that is nearly at my apex. Other than adjusting the darts and the hem length, I am feeling good about this fit.

I do still need to work on the back a bit more. The excess over the excess at the upper shoulder and upper arm bugs me. It's just not perfect yet. (Also, I want you all to know that I admit upon reviewing these pictures that I had the ties pulled a bit to tightly. There is a lot of pulling around the darts and waistline. Although the bodice did not feel too tight, it surely looks it. I think a bit more ease in the ties will help this.)

To try and figure out the needed adjustment, I pinned out a tuck across the entire back shoulder blade about an inch deep, perpendicular to the grain line. On my body, you can see the tuck curve down near my outer arm, although the actual alteration was straight across. This seems to have lessened the excess in the back without restricting movement or binging mobility.

Finally, I believe the bodice front and back both need lengthened by an inch or two, to accommodate both for these tucks in the upper chest/back and the straightening of the shoulder seam. Also, I want to give the dress room for the length that will come up when the skirt is attached.

I plan to work on these alterations a bit more this weekend and hopefully trace a final pattern noting all the alterations on Sunday. In this home stretch, any advice is appreciated. Let me know your fit thoughts and advice. Thanks!

Sunday, January 30, 2011

Pattern Review: Colette Madeleine Mini Bloomers

These pretty little bloomer shorts are designed to rest underneath a new Burda Allie robe. When Claire visited in December, I promised we would sew. First I promised pajama pants, but then I remember how most PJ pants are frumpy and ill-fitting and just sooooooo unsexy. What's a girl to do?

Then I remember, you know what is super sexy? Colette Pattern's Madeleine Mini Bloomers. I mean, just look at them. They are short. Low cut. Cute and approachable, but with some sex appeal. And best yet, the pattern is free and easy to sew. So we changed plans. PJ pants gone, mini bloomers under the presser foot.

The pattern review is below. Find you copy of this little beaut online at Colette Patterns. With Valentine's day right around the corner, it's the perfect time of year for these.

Pattern Description:
From the website: These are no prim and proper Victorian bloomers. They sit low on the waist, and are scandalously brief. The back view is particularly flattering. The waistband is sewn with two rows of elastic, and the legs are cinched with a length of ribbon. With just two pattern pieces, a beginner who is comfortable with elastic and buttonholes can make these.

Pattern Sizing:
Multi-sized for XS to XL, which encompasses the usual sizes 0-18 (equivalent to ready to wear) in Colette Patterns’ range, roughly hip size 35 inches to 48 inches.

Fabric Used:
We used Anna Maria Horner's Innocent Crush Viole, including the pattern "First Impressions - Blush". The cotton was GORGEOUS, very soft with a lovely drape, and easy to sew. We purchased all fabric from Fancy Tiger in Denver, Colorado and they were incredibly helpful.

Pattern Alterations or any design changes you made:
We sewed Claire's bloomers in a size medium, no pattern alterations made.

However, for mine (featured) I made a few adjustments based on Patty the Snug Bug's review and advice to add some rise length and width. I added two inches of length to the front and back pieces to bring the rise up and waistband closer to my navel. This was a good adjustment.

Also, fearing the size XL would be a bit too tight over my midsection, I graded the front pieces wider by two inches by slashing and spreading 1" extra to each side of the front. This turned out to be a bad choice and a silly adjustment on my part. First, the finished shorts would have been plenty big without the extra two inches, completely unadjusted. But even if I had wanted to add some width, I only really need extra room over the tummy, not over my narrower hips. Colette designs for a "curvy" gal, and her patterns seem to all curve in at the waist. Instead of a straight 1 inch grade all the way down, I should have just straighten out this waist curve and added the inch there alone, truing to the existing hip line. Make sense?

We did not succeed in adding the pleats to the lower leg opening as the pattern suggests, as I could not quite figure out how to work this around the button holes I had already added. They look really adorable in theory, but I don't miss them either.

What did you particularly like or dislike about the pattern?
Like: This is a quick sew.
Like: It's free!
Like: The instructions are clear with great illustrations.
Like: The generous fit means this can be versatile for different sized and shaped people.
Like: The double elastic casing that forms the waistband is GENIUS. It looks super cute and girlie, it was a cinch to sew, and it helps hold the little shorts up like a champ.

Dislike: The rise in the design is really, really low. I mean, loooooow, like, "how low can ya go?" low. Take a look at the the sample on the model here, and you might find yourself thinking "wow, those are low, that model must have a really really long waist"... well, think again. Sure, the model is long and lean, but more than that, the bloomers look that low because they ARE that low. :) They were nearly too low for my 24 year old svelte and flat tummied sister Claire. She admitted she would like at least two more inches in the rise to be considered decent (and comfortable). I added two inches to mine, but the finished product is still really low. I think I really needed four inches extra length total. Even with four inches added to the rise, they will still rest comfortable under my belly button in a very respectable "sexy" position. Consider yourself warned, the rise needs some adjustments for most.

Dislike: The buttonhole placement on the pattern and the point at which the instructions indicate making the buttonhole.... I might suggested waiting a bit and ironing up the hem to gauge placement of buttonholes before adding them to the pattern. This would ensure they fall on the right place for your thighs.

Would you sew it again? Would you recommend it to others?
I highly recommend this pattern. There's nothing to loose, its a great beginner project, and it is a nice way to utilize some shorter lengths of fabric from your stash.

I do have a suggestion on creating the leg casings for the ribbon. I am not entirely sure about the instructions for construction of the leg opening. My fabric did not fold and stitch exactly as she suggested it would. I strongly recommend playing with the leg hems and casing area a bit before sewing or adding button holes. Iron out your seems BEFORE you make the holes (the old measure twice, cut once advice).

I also suggest incorporating some elastic into the leg casing. I want my bloomers to look very gathered at the thigh for the flouncy effect. However, I find my thighs spread a bit wider when I sit or lay in certain positions verse when I stand. So, if I tie the ribbon for standing, they feel to tight when I sit or lay. But if I tie them for comfort sitting and laying, they look too loose when I stand. A happy solution would be to attach elastic to the ribbons and run this through the casing. Then I would have the ease of stretch to accommodate movement, but the look of ribbon poking out the casing as designed.

Conclusion:
Cute cute cute! There is no reason not to give these a go.